
9 things to consider when choosing a villa gate
A villa gate decision often starts with a picture and ends, after handover, with regret. The nine points below are the topics where we most often hear “we wish we had asked at the start” on site; work through them in order and you will have asked the right questions by the time you get to the quote.
1. Measure the space in front of the gate, not the gate itself
The decision is almost always made in the wrong order: first comes a picture of a gate you like, then the question of whether that gate will fit. It should be the other way around. At any entrance, the first thing that determines the form of the gate is the space in front of and behind it.
Take a tape measure and check this: starting from both sides of the opening, is the area inside the arc the leaf will sweep clear? A double-leaf swing gate needs as much room as its leaves are wide, and that area has to be clear every time the gate opens. If cars park in front of the gate, the entrance is on a ramp or the street is narrow, that arc will catch on something every time.
Do the same for a sliding gate, but this time sideways: which way will the gate slide, and is the wall straight and unobstructed along that line? A sliding gate needs no room in front, but it does need an uninterrupted run beside it, as long as the gate is wide. If there is a utility pole, a tree, a projecting column or a level difference along that run, a sliding solution will not work there.
Sending photos is worth more than these three measurements: two shots, taken from in front of the gate and from the side, often tell us more than a tape measure.
2. Note the ground level and the slope
Most entrances are not level; there is usually a slope from the street toward the garden, and even the ground between the two columns varies by a few centimeters. That difference has a direct effect on the type of gate.
On a double-leaf swing gate, the leaf has to keep a certain clearance above the ground as it opens; if the ground slopes upward, the leaf drags. The fix is either to raise the leaf (leaving a gap underneath) or to level the ground. On a tracked sliding gate, the track is set into the ground; here the critical point is drainage, because water and soil collecting along the track put strain on the gate over time.
If the ground level is uneven and you would rather not correct it, a cantilever sliding gate is the type to discuss: the gate is held clear of the ground, and there is no track on the ground. The trade-off is a heavier frame for the same opening and extra space at the back for the counterweight.
3. Allow for wind — a gate acts like a sail
A gate with solid infill catches wind across its whole surface. In open country, on a ridge overlooking the sea, or between two buildings that form a wind corridor, that load becomes large enough to take seriously, and it bears directly on the hinges, the wheels and the motor.
In windy locations there are two options: leave gaps in the infill (open spacing between slats, vertical bars, perforated sheet) or strengthen the supporting structure to suit. The first gives up some privacy; the second adds cost. Your location decides which is right; choosing a fully solid gate without striking a balance between the two comes back to haunt you within a few years as hinge and motor problems.
4. Even if you don’t want automation today, have the cabling laid today
A motor can be fitted later; what really cannot be done later is the cabling. The motor’s power supply, the pair of safety photocells, the warning light and the remote control receiver all need conduits around the gate. If these conduits are put in during fabrication and installation, they stay out of sight; if cables are run later, either the wall gets broken open or the cable runs along the outside.
The cost difference here is very small — a few meters of conduit and a little labor. Done later, it means digging, wall repairs and an untidy look. Even if your plan is “we’ll open it by hand for now,” have the prep work done.
5. Know that the infill does three jobs at once
Choosing the infill is usually thought of as purely a question of looks. In fact, the infill determines three things at once: how much of the inside can be seen, how much wind the gate catches, and how heavy the leaf will be. The three are linked, and improving one often makes another worse.
Horizontal slats
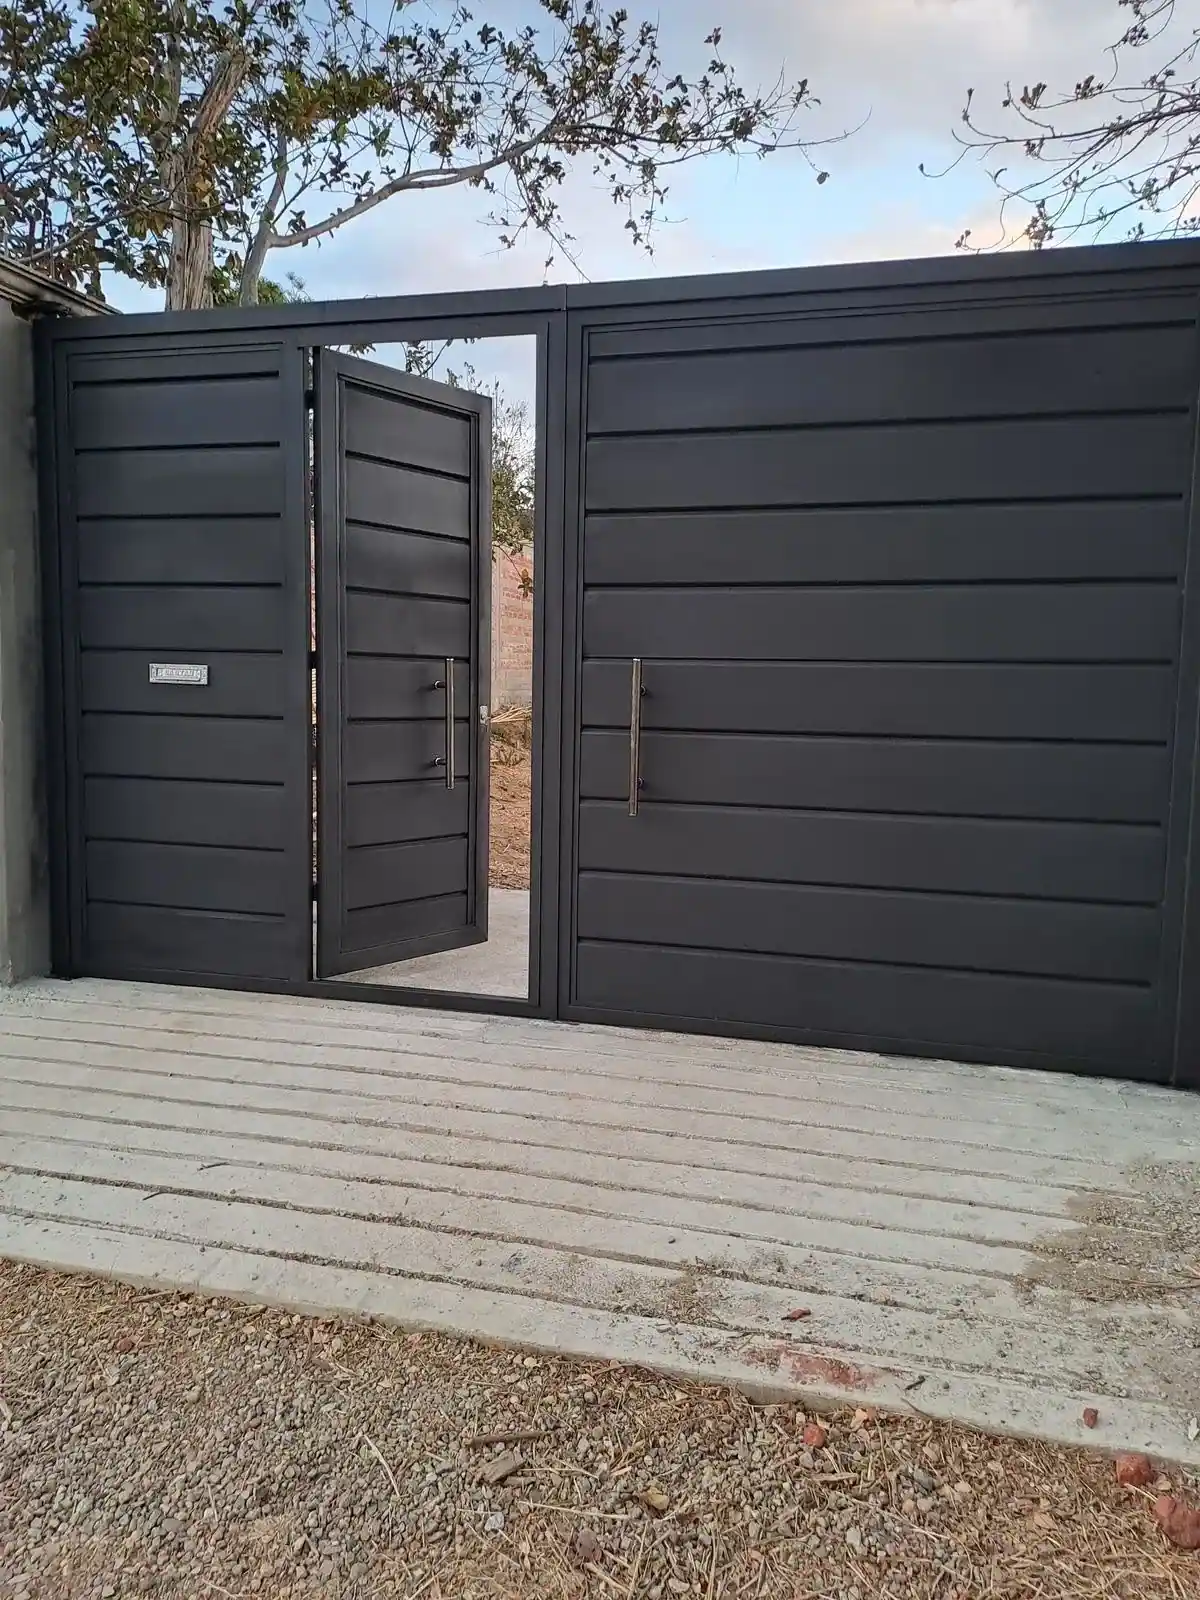
The tighter the spacing, the more privacy — and the more wind load and weight. The wider the spacing, the lighter the gate, but the inside becomes visible. It is the most popular type because this balance can be set by adjusting the spacing.
Vertical bars
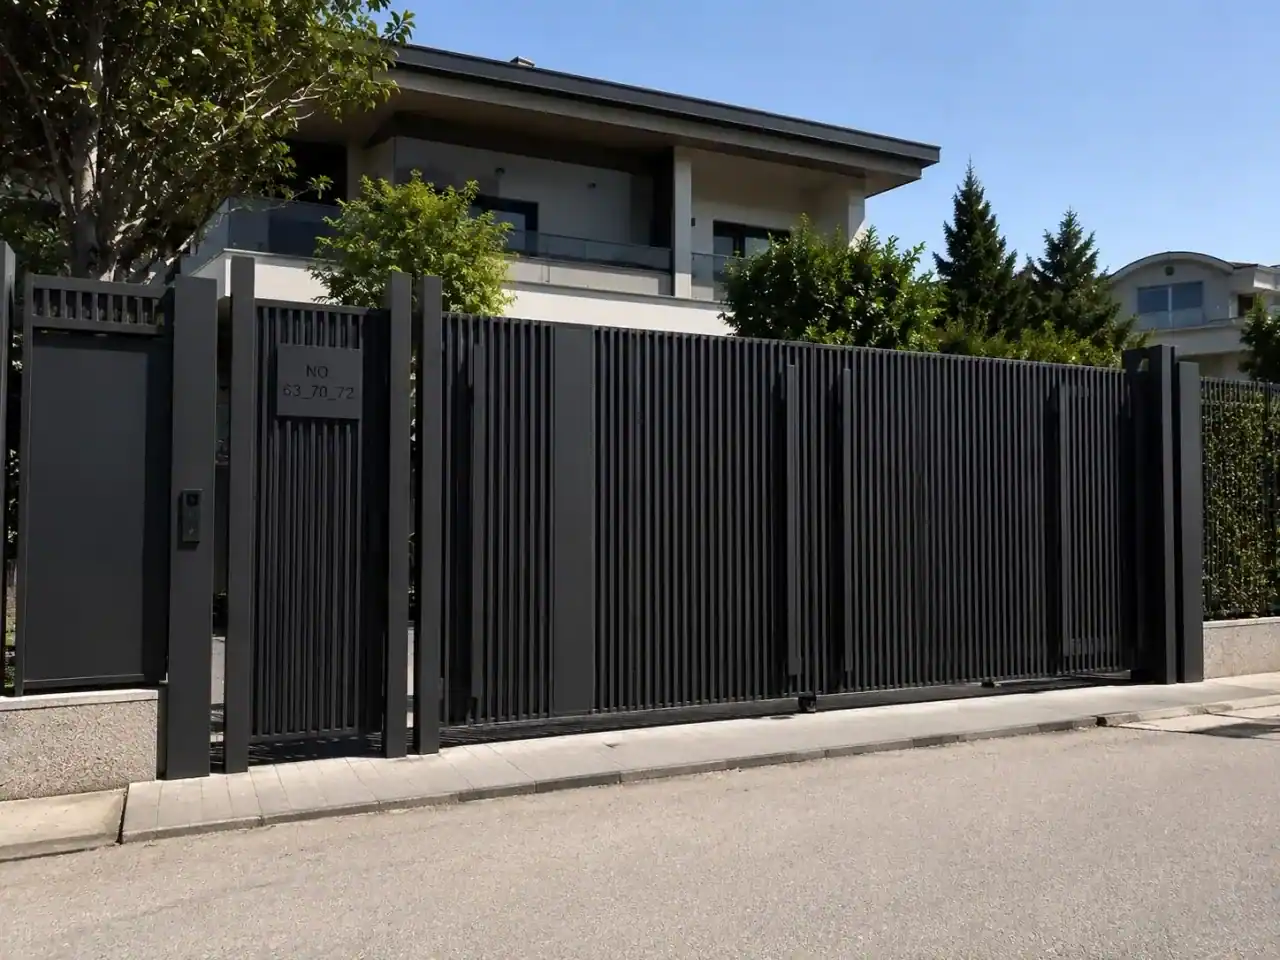
The option that catches the least wind, and the lightest leaf. It looks good on classic and minimal facades. It offers no privacy; the garden can be seen from the road.
Perforated / laser-cut sheet
The pattern stops anyone looking in from making out the inside clearly, while air still passes through. Visually the option with the most character; the trade-off is that the cutting work shows up in the cost.
Composite panel (wood-look)
A solid surface, so high privacy and a high wind load. It gives the look of wood without the upkeep; it does not crack and needs no varnish.
6. Ask for the scope of the surface treatment in writing
Most of the price difference between two gates of the same size comes from something you cannot see: what was done before painting. Were the weld seams ground flush with the surface, was the surface sandblasted, was primer applied? Skip one of these three steps and the gate looks the same in the first year, then starts to rust at the joints by the third.
When comparing quotes, the question to ask is not what the color is but whether sandblasting and primer are included. Electrostatic powder coating looks glossy even on an unprepared surface — but it finds nothing to grip.
7. Plan the pedestrian gate together with the driveway gate
If an entrance has two gates bought at different times from different places, the result is almost always a mismatch: the shades don’t match, the profile thicknesses differ, and the infill pattern doesn’t come out exactly the same. Because the two gates stand side by side, the difference cannot be hidden.
Planning both at the same time, from the same series, is not just about looks either: it means the same surface treatment, the same paint batch and the same installation crew. Even if the budget doesn’t stretch that far today, at least settle the position and size of the pedestrian gate now.
8. Ask about a mechanical backup for the electric lock
On a pedestrian gate, an electric lock is a convenience: you press the intercom button and it opens. But what happens when the power goes out has to be settled from the start. An entrance gate that opens only electrically leaves you outside it during an outage.
The right setup is an electric lock that always works together with a mechanical cylinder. On the driveway gate, learn at handover where the manual release key on the motor is and how to use it — on the night of a power cut, that key is the only thing you will be looking for.
9. Compare quotes for the whole entrance, not just the gate
To understand where the difference between two quotes comes from, you have to put their scopes on an equal footing. One quote may cover only the leaf while another includes the frame, the motor, the photocells, installation and surface treatment; even if the two figures look close, they are not describing the same job.
Ask about these items one by one: is the frame included, is installation included, if there is automation are the photocells and warning light included, which steps does the surface treatment cover, and what is the lead time. Comparing figures before these are clear ends with the cheapest-looking quote turning out to be the most expensive.
Send the measurements and location before asking for a price. If a figure given without seeing the measurements changes later, it is of no use to anyone.
Frequently asked: why is “the same as my neighbor’s” difficult?
It is a very common request, and it usually comes from a reasonable expectation: there is a gate you like, and you want the same one. In practice, two obstacles come up.
The first is size. Two entrances that look alike almost never have the same opening; a difference of ten centimeters changes the number of slats and the proportions of the divisions. Apply the same drawing to a different opening and the proportions go off, and the gate looks “similar but odd.” The right approach is to take the motif and the infill style and rework the divisions to the new dimensions.
The second is color. Electrostatic powder coating is applied to a RAL code, and the same code gives largely the same shade; but if your neighbor’s gate has been in the sun for years, its shade today is not the shade it had on day one. For two gates that don’t stand side by side, this difference is unimportant; if they stand next to each other in the same gated community, it should be discussed at the outset.
What to check at handover
When installation is finished, there are five checks to make while the crew is still on site. If any of these is noticed later, it takes a second visit.
- Open and close the gate by hand: does it drag, and does the lock bolt slide easily into its strike?
- If the gate is automated, test the photocells — walk across in front of them while the gate is closing; it should stop and open again.
- Have the crew show you where the manual release key is and how to use it.
- Check by eye that the weld seams have been ground and the paint is even, especially at the bottom corners.
- Test the remote controls and put in writing how many you received.
Pages related to this article
Models mentioned in this article

Let’s talk about your project
This article covers general cases; your entrance, plot or building comes with its own constraints. Send us measurements and photos, and we’ll tell you which solution fits.